RoR Review 20110227 – 1980 Ford Bronco Monogram 85-7214
RoR Review 20110227 – 1980 Ford Bronco Monogram 85-7214
Review and Photos by Tom Schaefer 
Â
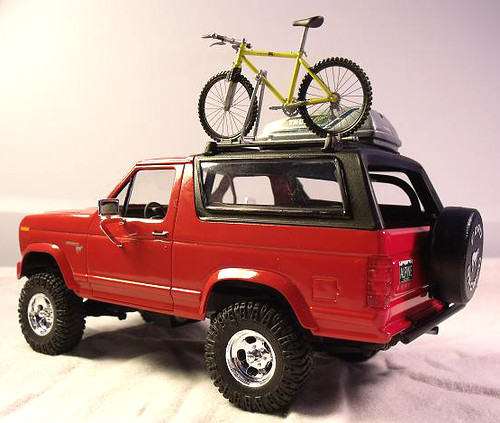
1980 was a big year for Ford trucks. A huge remodel of their truck line took place. Ford stepped into the “modern†era with the sleek new look, and it started a streak of the best selling truck line for the next 30 years. Monogram introduced the Bronco model not long after the real one was introduced. Over the years I have bought almost every release of this model. This recent rendition is not much different than the others. What is different is that it is now molded in white (fig 1, 1a).


It also comes with beautiful five slot mags, a gorgeous decal sheet, (fig 2) and the fender flares from the Hi-roller version. The Bronco lends itself to a ton of different build versions: fire, police, Border Patrol, lifeguard, and civilian, just to name a few.

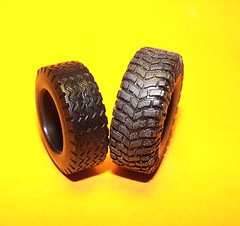
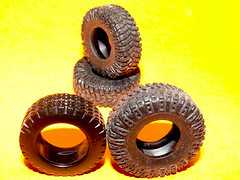
Upon receiving the model I tried to decide just how I wanted to build it. After some research, a weekend warrior trail-riding theme was chosen. Scrounging through my parts box I found a Revell Tomb Raider Jeep, which I used the tires from (fig 3,4) Now the Goodyear Tracker AT’s that come with the model look bad, but they are actually good representations of the originals.
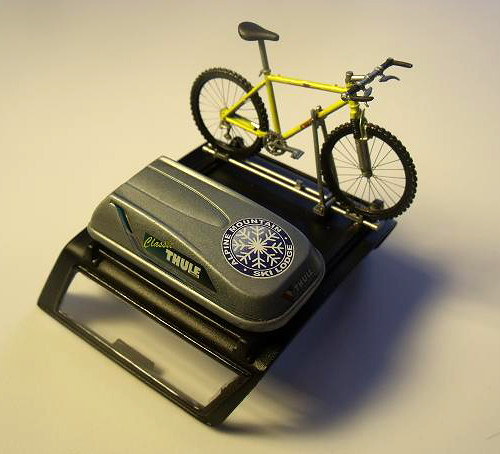
The other parts I scavenged were the Thule car top carrier and TREK bike from a Fujimi Astro Van (fig 5). Now that I have the parts in place, let’s get started.
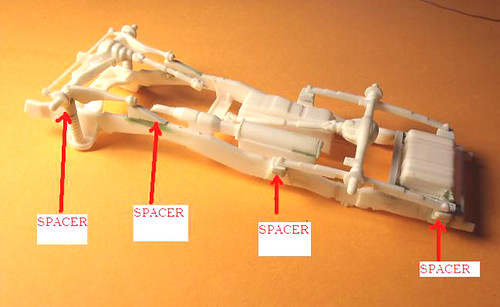
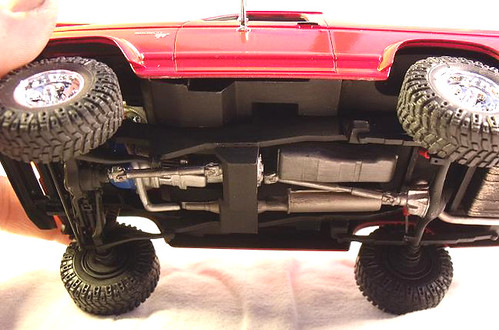
The Chassis and suspension were my first challenge. I needed to lift the Bronco at least 8 scale inches. There were many ways to do this, but I decided to go the easier, and sturdier, route and move the suspension to frame mounts. The exhaust pipe had to be cut off (fig 6) as well as the suspension mounts. I glued the mounts back on the frame LOWER so as to LIFT the truck.

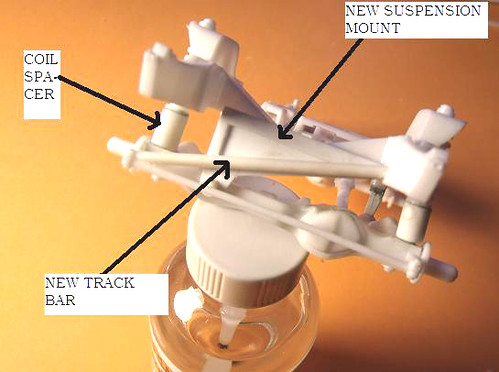
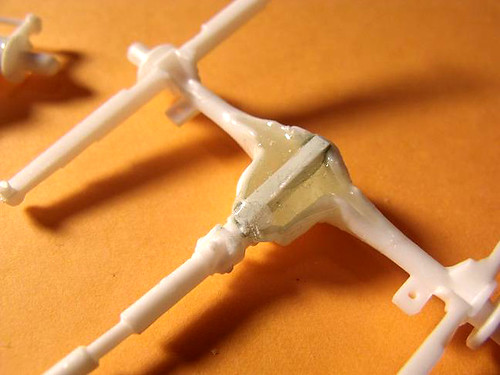
Also I added spacers to the mounts as well as making spacers for the front suspension (fig 7a, b). The differentials are molded open, and when the truck is lifted you can see this, so I filled the differential with some scrap plastic and epoxy.
When it dried I sanded them and painted. Not great, but better than stock (fig 8).Â
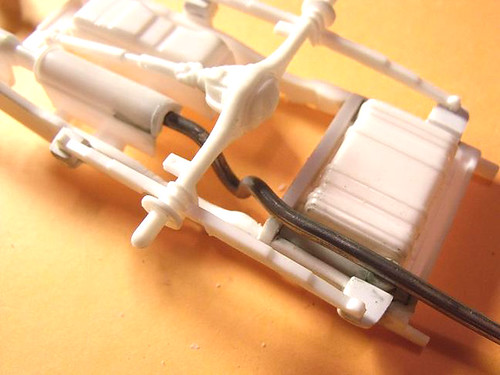
To fix the tailpipe I cut out, I used a chunk of 1/8†solder. It was epoxied to the hole in the muffler and bent to shape to clear the rear axle (fig 9).Â
The shocks were not realistic, so out came the styrene plastic tube to make a new set (fig 10).Â
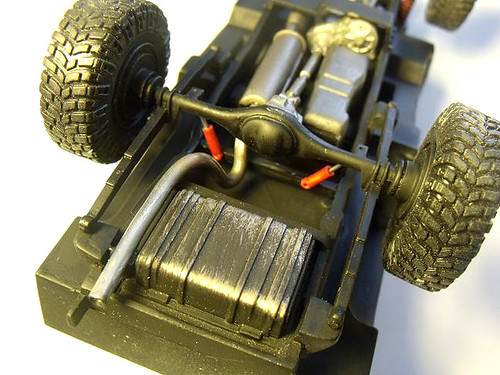
The end results came out pretty good. (fig 11)
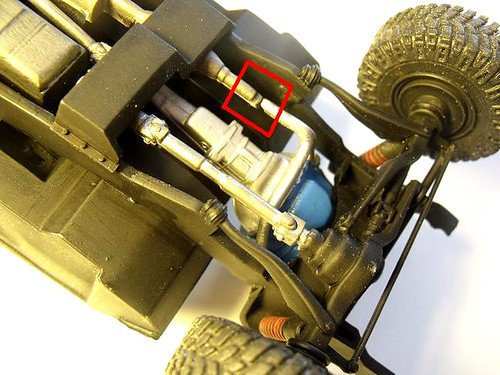
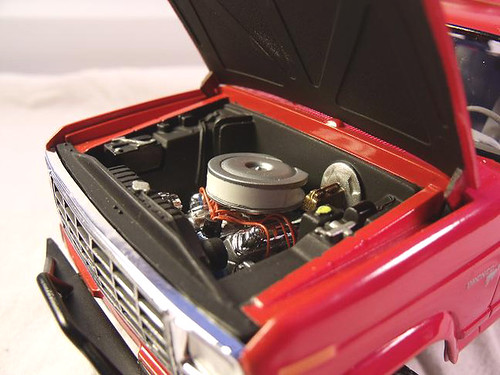
The engine of the “Bronc†is a decent representation of the 302. With separate heads, valve covers and intake, the basics are there. The only problem with this engine is that there is great detail in the heads and exhaust manifolds and then they skimped on the rest. The crossover pipe for the exhaust fits poorly. The crossover pipe could be fixed by sectioning in some styrene tube. (fig 12).
The serpentine belt is alright, but the only accessory that was included is an alternator. A power steering pump and A/C pump would be nice. (fig 13) There are also no provisions for an upper radiator hose. I made my own distributor, but the kit one is OK.Â
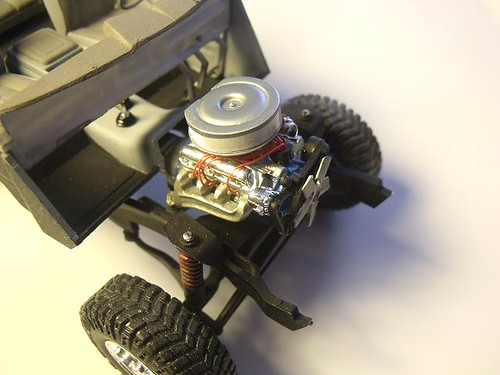
I also used an air cleaner from a NASCAR kit. (fig 14) Now if you really want a nice engine, consider sourcing one out of a ‘90’s Ford stock car kit!Â
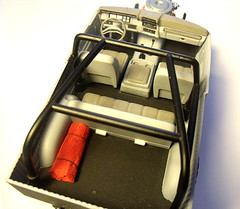
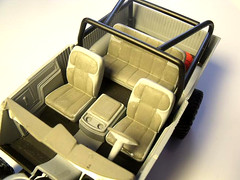
The interior is pretty straightforward. With three seats, dashboard, steering wheel and column, two shifters, and a roll bar, there isn’t a lot there. The seats went together with minimal sanding, and after paint and some detailing, looked pretty good. The roll bar is nice, but if it’s built stock, it will not clear the top! So using some more styrene tube and the kit roll bar I made my own cage. The dash is not detailed well at all, but with a little paint it didn’t turn out bad. (fig 15,16)
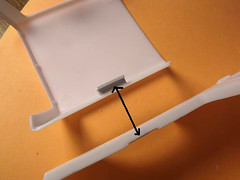
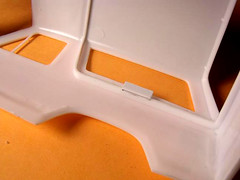
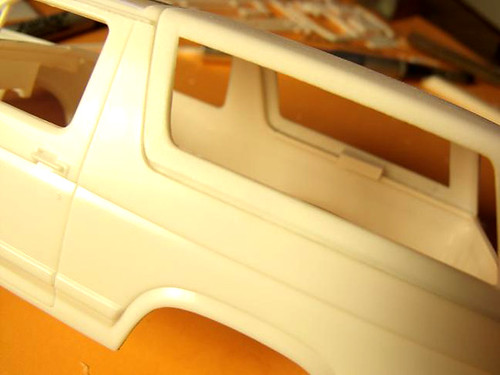
Now for the body! I used Testors Guards Red for the color, after a light sanding to remove the minimal flash (this is a 30 yr. old tool remember!). I used the fender flares that fit nice and tight. I added some tabs to the removable top because it is hard to keep it on the truck without them (fig 17,18, 19).Â
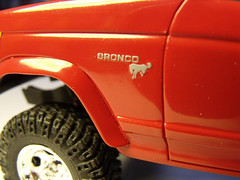
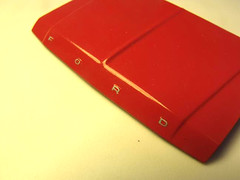
The emblems are nicely detailed, and with the addition of decals it really makes them pop (fig 21, 22)!
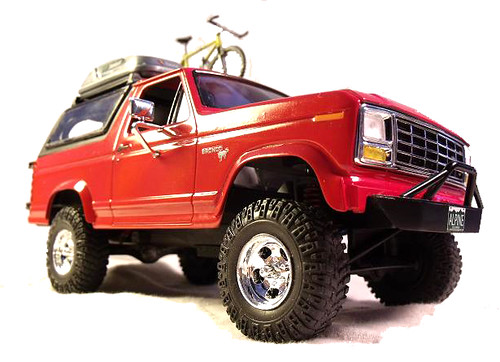
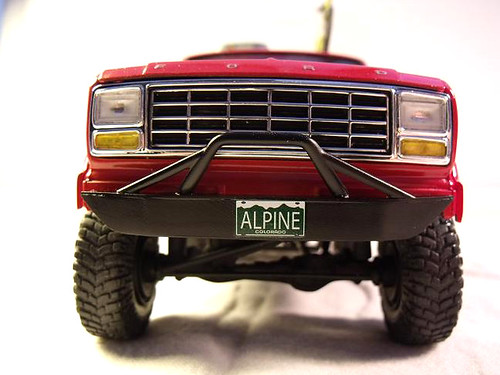
After everything was polished and put together I built some bumpers with my styrene stash. The front is a basic design (fig 23).
I added the kit roof rack to the roof, and added the Thule car top carrier, bike carrier and Trek bike. The tire carrier for the back of the Bronco is nice also, except it needs about a 1/16 cut off the arms to fit properly (fig 20). The rear is just a simple tube.
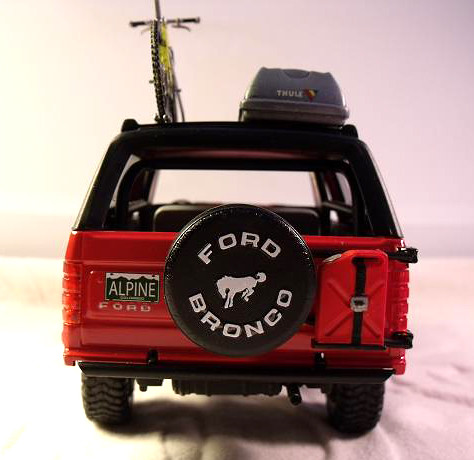
The light bar is from the Tomb Raider Jeep.(fig 26)

With everything being taken into consideration, the age of the kit, the lack of detail in the interior, the molded in rear exhaust, and the missing engine accessories, this is a great kit. It’s easy to build, is pretty accurate, and represents an era that is long gone (removable top SUV’s). I will probably build more of these, because they just beg to be built as a lifeguard truck or a Police cruiser (fig 27).Â

I hope Revell/Monogram will consider updating this kit with some of the parts that they have in their tool and die storage. It would be nice to see the “High Roller†version done again, or do what I did and use the parts from the “Tomb Raider Jeep†and mold up some new suspension parts. Until next time, keep building your dreams (fig 29).
