RoR Review 20101013 – Monogram 55 Ford F-100 Street Rod # 85-0880
RoR Review 20101013 – Monogram 55 Ford F-100 Street Rod # 85-0880
Review and Photos by Tony and Martha Gibson
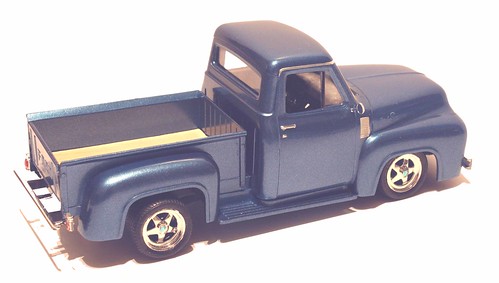
Monogram 55 Ford F-100 Street Rod 1/24 scale. 94 pieces molded in white, nice chrome pieces, colorful decal sheet with 2 options for instrument panel. Model was painted with DuplicolorTM products. For whatever brand of paint is used, always stay with the same brand for primer, paint and clear to prevent paint failure.

Figure23
The engine build is pretty straight forward. The engine was partially assembled before painting. Parts 84, 25, 26 x 2 (right and left), 28 (water pump) all went together and the assembly was painted and allowed to dry completely.
Chrome parts will have to be cut off the tree for engine assembly. Just a note regarding all the chrome pieces; some of the chrome pieces needed to be touched up with silver paint after cutting off the tree. The chrome was so heavy that it left a white spot where it had been attached. Remember also that when gluing chrome pieces on, scrape off the chrome where glue is applied.  If there is paint on the part the chrome piece is being applied to, scrape the paint off before attaching the chrome. You will get a better bond between the pieces.
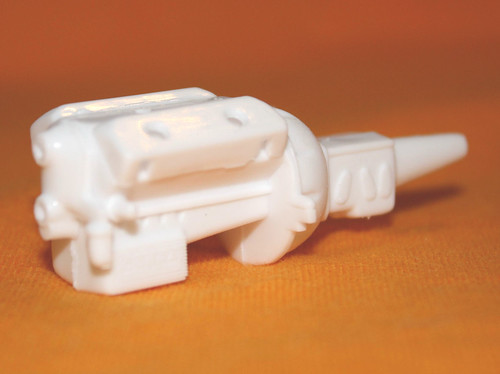
Figure3
The engine went together easily following the directions. After assembling, the chrome pieces were given a light wash of thinned black paint to show off feature lines. Make the paint very thin and brush a small amount over the part. Lightly dab off the excess.

Figure24
After reviewing the directions, it was decided to assemble the body parts before painting, then paint all at the same time. This gives a better overall finish and less risk of getting glue on the parts. This is not the way to go on every model, but for this one it worked out for the best.
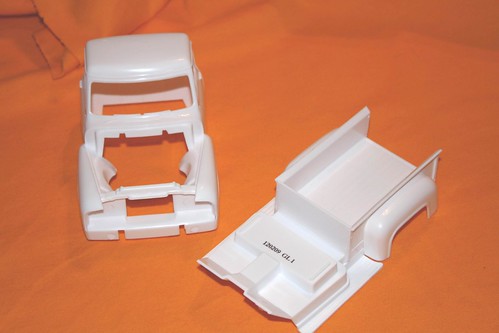
Figure2
While assembling the body before painting, make sure the firewall, radiator support and hood pin go in. But, do not attach the hood, paint it separately and assemble it later.Â
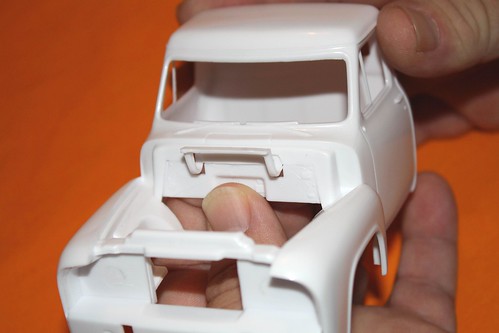
Figure4
Score the plastic that attaches the hood to the tree before breaking the part off. This will cause less damage to the part and make clean up easier and a better overall fit.
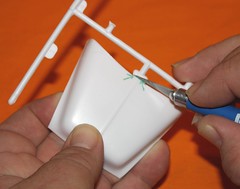
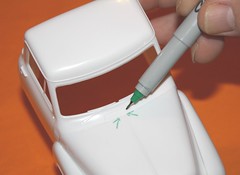
Figure1 & Figure5
After mocking up the suspension, the truck seemed to sit too high. If you like the way it looks, leave the parts as they come. If you want the front end lowered a little, the shocks will have to be modified. The shocks were a little long so they were cut down about 1/8 inch.
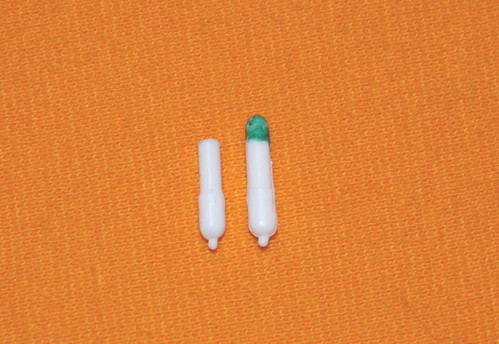
Figure6
If the shocks are cut down, the front end cannot be assembled without some modification or the front tires will bow out.Remove some of the material around the wheel pins (marked in green in the picture). This was removed by using an emery board, taking a little at a time until satisfied with the fit. If you do not shorten the shocks, this step is not needed.

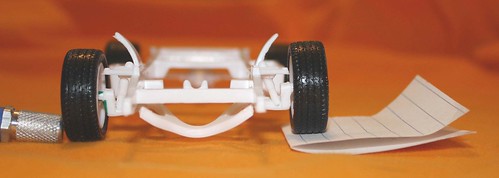
Figure8 & Figure7
After mocking up the rear box on the frame, the rear tires seemed to sit out too far (see left tire in picture). This was purely a builder’s preference to narrow the rear end up. (See the right tire in picture).
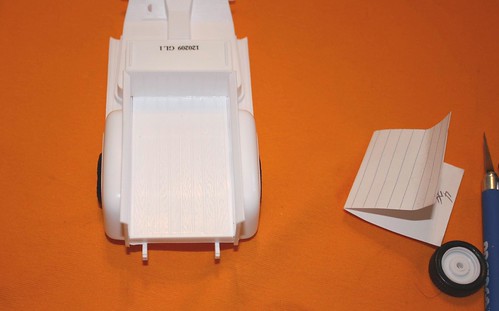
Figure10
To bring the rear tires in, remove material from the inner wheel assembly at the base of the pin, then shorten the pin about 1/8 inch. If you do not remove the material the wheel will not slide on far enough. (The picture shows the left side before material is removed compared to the right side after it’s removed)
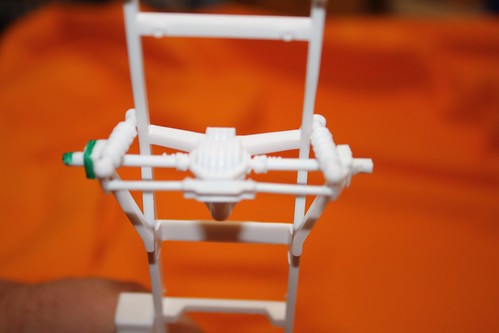
Figure 9
Use a cutting tool to remove most of the material, then an emery board or sand paper to clean up the area. Be careful not too remove too much; just take off a little at a time.
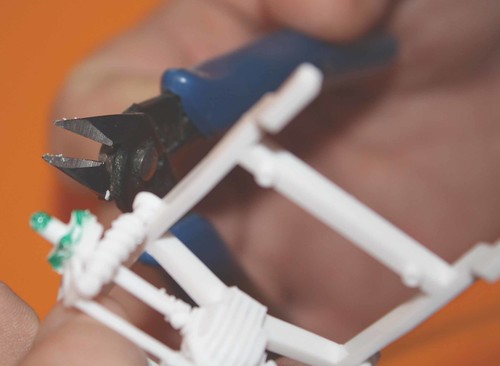
Figure 26
The front and rear end modifications took about 2 hours to complete. Again, this is personal preference, it looks fine when built stock.
After the paint on the body dried, at least 24 hours after painting, bare metal foil was applied around the windshield and other body features. This takes patience and a good sharp blade for trimming.
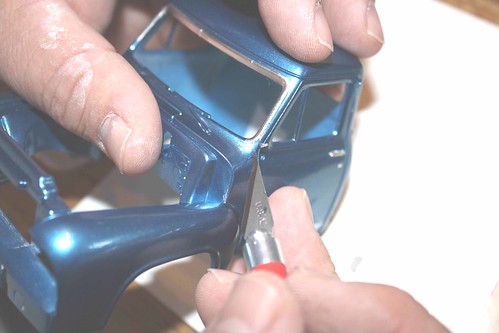
Figure 13
Apply the foil, and then rub lightly with a cotton swab to press into the features.

Figure 15
Cut away the excess with a sharp blade.
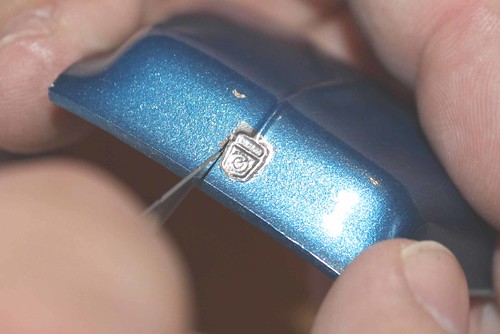
Figure 16
The interior assembled easily according the directions. For this build, the seat, door pads and dash were given a wash of thinned black paint (any color could be used). Thin the paint, brush over the part and dab off the excess with a paper towel. This gives a look that resembles velour and brings out feature lines in the interior.
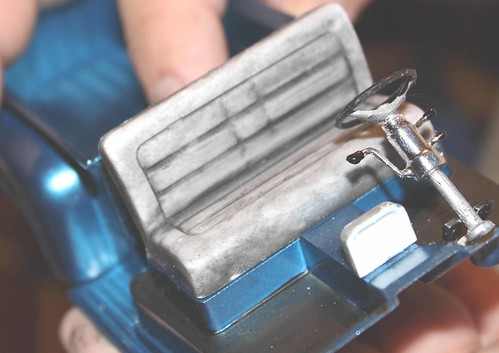
Figure 17
When assembling the windshield and dash, section 4 on the instruction sheet, it is easier to put the windshield in first, let dry, then place the dash. If you follow the instruction sheet exactly you will have a lot of trouble getting everything into place without getting glue all over the windshield.
For the inner door panels, step 5 section B on the instruction sheet, the parts are too long at the bottom. Removing about 1/8 inch at the bottom keeps it from being visible from the outside. Test fit while taking material away. On the reverse side of the panels there are 2 raised areas. Remove these raised areas completely with an emery board or sand paper. If they are not removed, the cab will not fit over the lower section of the body without causing problems.
Step 10 section C on the instruction sheet will tell you to put the hood on in the final assembly. This is a no-no. The hood needs to be put on before the cab is on the frame or you will have problems getting the hood and hood hinge to line up.
The remaining assembly was completed without any problems and went on exactly as per the directions. The front lower running lights and tail lights are molded in chrome. A simple way to make these colored is to use a SharpieTM marker. This is a quick way to detail these parts just a little.
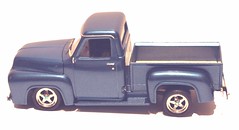
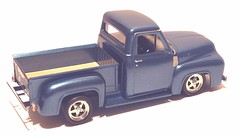
Figure 21 & Figure 22
To give the bed of the truck a little more detail, craft sticks were cut to size, sanded on the edges and installed in the bed. There are all sorts of wood products that can be used, but the craft sticks are probably what everyone has on hand. If desired, they could be given a stain and/or clear finish before gluing into the box.
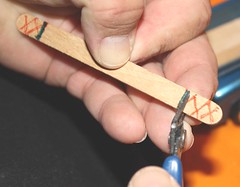
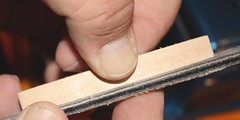
Figure 18 Figure 19
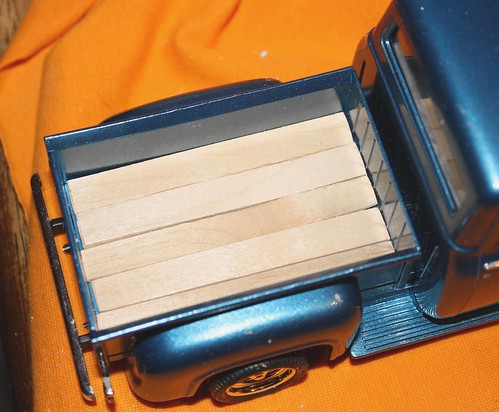
Figure 20
All in all, this is a great kit any way you choose to build it. Choose your favorite colors and go at it. There’s plenty of ways to detail and alter this kit, more than shown here. The Skill Level 2 rating was right on the money.
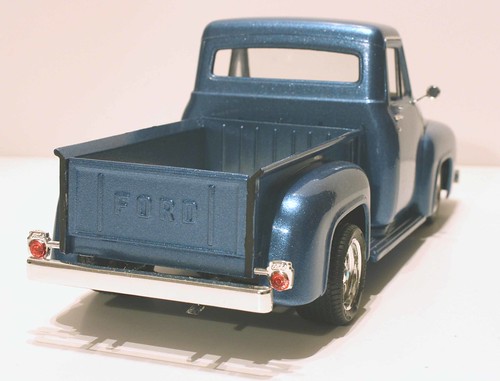
Have fun!
“Keep the glue off the windshields”
Tony Gibson

